Perfect Holiday Destination Development Part 6: UV Textures, Final Touches, and Rendering

Having some prior knowledge on the process of rendering out an animation, I knew that due to all the lighting in my scene, my render would take some time. Therefore I bunkered down and make sure my project was done at least 2 days in advance, giving me the last two days to render out whatever camera animations I wanted.

UV mapping the buildings didn’t take too long, with me finding some images of night time office windows and using those as the template for most of the window textures in my scene. I also wanted to try and fill up the barren ground level, given I had devoted most of my time to modelling the buildings and neon signs. Going back to my padlet, I decided to include a vehicle, a few advertisement signs, as well as some trash cans. In hindsight, I would have liked to have added more to the ground level to make it more filled, but my scene was already taking very long to render due to all the lighting elements.

I experimented with a few different methods when it came to animating the camera moving, and eventually settled on two separate animations. One at a high level to show off the lighting, cables, and buildings, and another animation and ground level to show off the rest of the elements of the scene. Just got to render out the ground animation and I’ll be all finished.

My First Rendered Animation. This is the high level one which shows off the buildings, lighting, and neon signs.
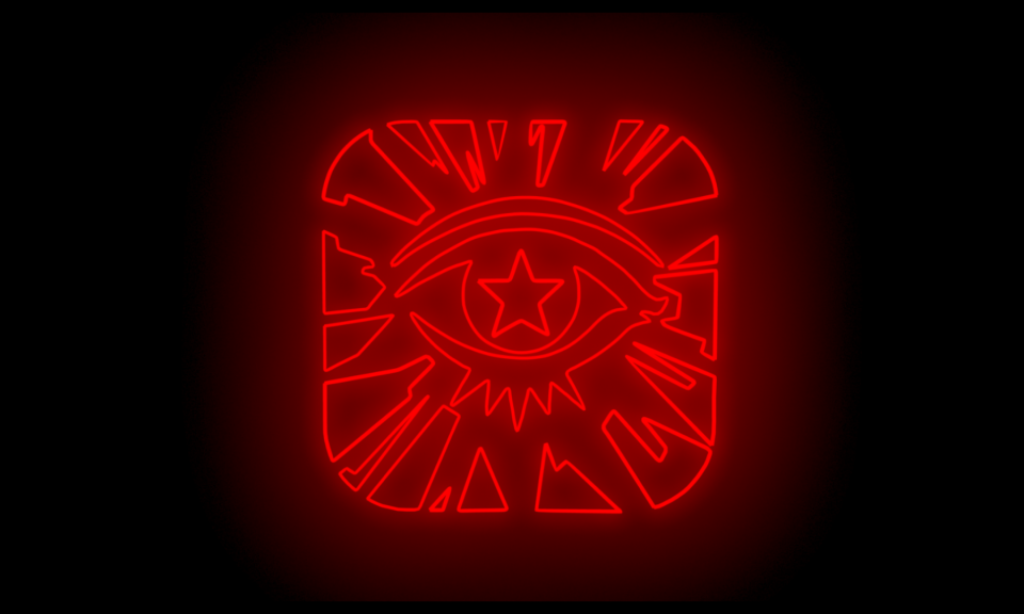
Ground level showing off more of the scene. Had a few issues I couldn’t resolve in time with this render, mainly to do with the red neon lighting not appearing in the right place for the sign on the right.

Overall, I really enjoyed this project. It allowed me to get used to using Maya, whilst also creating things based on my own passions and enjoyments in life. I’m really happy with how my scene turned out and I think I am a lot more knowledgeable on how to use Maya…especially when lights are involved! (note: my project ended up having over 150 separate light sources 0_0)
Perfect Holiday Destination Development Part 5: Building Development

I spent a couple days ironing out the exact designs I wanted for the buildings, whilst also looking at the scene to think of any other objects or changes I could add. I liked the idea of having balconies on the buildings on both sides, possibly with wires connected from the neon signs to specific points of the buildings or between other signs. Creating wiring was easy enough, utilising the extruding curve methods I had previously used to create more thin neon signs. As well as creating balconies and wires, I actually tightened the overall space of the scene, making the road thinner and the buildings closer. I think this gives the scene a more city-like vibe in line with the cyberpunk and asian designs I am basing my project on.

In my time working on the project, I have also appreciated the use of the ‘Create Polygon’ tool to help in the creation of certain elements of the scene. While modeling things from hand can be more efficient at times, the tool has heavily helped when it came to the creation of some of my signs. I have a newfound respect for how beneficial concept art can be when it comes to 3D modeling when partnered up with the ‘Create Polygon’ tool sometimes.

Perfect Holiday Destination Development Part 4: Scene Creation and Neon Signs

I had planned for my scene to have heavy overall lighting, and as such, I needed plenty of ideas for neon signs to create to fill up my scene. Most of the ideas I ended up using stemmed from video games, movies, and other forms of media I personally enjoyed. I had a bit of trouble porting my method of creating the signs to work using Arnold rendering. However, after some trial and error, I created a method utilizing the emission quality in Arnold materials, and mesh lights. Throughout the project, I plan to add more and more signs to the scene to create a vibrant lighting effect hopefully.

You can also see in the picture above that I began creating a more in-depth scene for the overall project, trying to replicate the same sort of vibe Khao San Road gives off whenever I visit there. For now, the buildings are plain compare to the more sophisticated one I worked on separately, but I plan on adding more elements to them, as well as give them specific UV textures for all the elements they have.