Perfect Holiday Destination Development Part 5: Building Development

I spent a couple days ironing out the exact designs I wanted for the buildings, whilst also looking at the scene to think of any other objects or changes I could add. I liked the idea of having balconies on the buildings on both sides, possibly with wires connected from the neon signs to specific points of the buildings or between other signs. Creating wiring was easy enough, utilising the extruding curve methods I had previously used to create more thin neon signs. As well as creating balconies and wires, I actually tightened the overall space of the scene, making the road thinner and the buildings closer. I think this gives the scene a more city-like vibe in line with the cyberpunk and asian designs I am basing my project on.

In my time working on the project, I have also appreciated the use of the ‘Create Polygon’ tool to help in the creation of certain elements of the scene. While modeling things from hand can be more efficient at times, the tool has heavily helped when it came to the creation of some of my signs. I have a newfound respect for how beneficial concept art can be when it comes to 3D modeling when partnered up with the ‘Create Polygon’ tool sometimes.
Perfect Holiday Destination Development Part 4: Scene Creation and Neon Signs

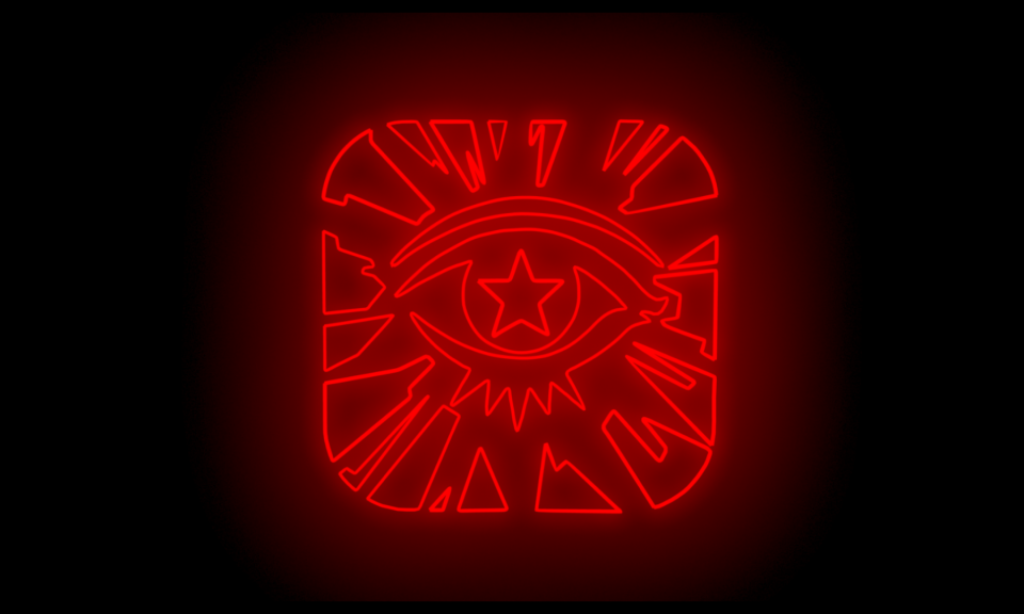
I had planned for my scene to have heavy overall lighting, and as such, I needed plenty of ideas for neon signs to create to fill up my scene. Most of the ideas I ended up using stemmed from video games, movies, and other forms of media I personally enjoyed. I had a bit of trouble porting my method of creating the signs to work using Arnold rendering. However, after some trial and error, I created a method utilizing the emission quality in Arnold materials, and mesh lights. Throughout the project, I plan to add more and more signs to the scene to create a vibrant lighting effect hopefully.

You can also see in the picture above that I began creating a more in-depth scene for the overall project, trying to replicate the same sort of vibe Khao San Road gives off whenever I visit there. For now, the buildings are plain compare to the more sophisticated one I worked on separately, but I plan on adding more elements to them, as well as give them specific UV textures for all the elements they have.

VR Music Video Development Part 4: Scripts, Final Touches, and Missed Opportunities

With the main bulk of the assets, animations, shaders, and etcetera done, all that was left was to get some code to make it all work. I searched up ways to create a script that allowed me to change the scene at certain points to the song to match up with the feeling each segment gave. As well as that, I added a simple script to make sure the audio of the music video would continue between scene changes throughout the viewing.

Overall, I enjoyed the project. I had a hard time starting out due to all the errors I got trying to make my project VR compatible, but once I got past that hurdle, I had fun creating it.

If I were to redo my project, I probably would add more complex animations. I had a hard time creating blended animations beyond those used for the VR hands, as well as animations that lead from one into another. Beyond that, I would also have liked the make the scene transfers better, perhaps by looking up a way to fade in and out of scenes instead of having a sharp cut with each load.

At least that’s something to try on the next project!

VR Music Video Development Part 3: Different Scenes

Given that the vibe of the song gives off 3 distinct atmospheres, I wanted to create scenes that represented each vibe that the viewer would go through. This included the main floating island area during the day for the start of the song, an underwater segment when the song sounded muffled, and then an edited version of the floating islands at night for when the song winds down at the end.

With the creation of each scene, there were elements that each needed to work and look correctly. Most heavily needed were custom shaders for the underwater segment, as well as some other areas. After some researching online, and switching my project over to use URP, I was able to create a few shaders that served my purposes. One major one emulated a caustic system, allowing for better-looking water, as well as an urate portrayal of the underwater segment. Besides the caustics, I also created a shader for my seaweed in the underwater segment to make it sway in the water.

Example of one of the shaders I made

For the night time scene, I wanted to have a heavier focus on lighting, adding in a campfire and fireflies as sources for the point lights. For the fireflies to look right, I used a particle system, creating a few key points for them to spawn at. Besides the lighting for the campfire, I also used a custom shader for the actual flame to make it look more animated and accurate.

Overall I really enjoy the vibes of all 3 scenes, and now just need a way to time them right throughout the duration of the song.

VR Music Video Development Part 2: Animation Developments

With my scene created, I started looking into ways to add animated elements to my scene. One of the major examples of this I wanted to do was a simple floating animation for some of the islands to add to the aesthetic of the scene. While this was one of the simpler animations to do, it added a lot to the scene in my opinion.

Next up was the part I was excited for: animating a seal playing a saxophone. After some searching, I was able to find a decent rigged model of a seal that fit the style of my project, and a saxophone for him to play. After some tweaking, and creating the animation, I had it.

I added a few other animated elements where I could, including some from Mixamo, and some more custom ones made for models I created like an airship that flies around.

VR Music Video Development Part 1: Changes and Complications

So for a very long time, I was unable to actually get my project built and run on Unity following the instructions specified in the lectures. I don’t know if this was a technical error, something caused by trying to convert instructions stated on a Mac to Windows, or my own fault, but thankfully I was able to diagnose the problem and fix it. The main issue seemed to be stemming from the addition of the OVR plug in found on the Unity store. With it removed, I was able to build my project using Unity’s built-in XR functions.

Following this playlist:

I was able to create my own VR rig for the project, as well as implement simple functionalities such as the addition of VR hands, scene interaction in the form of a bouncing ball, and far object grabbing.

With my base functionality sorted, I was able to finally begin working on my project during the Christmas break, where I came to another conclusion. My original idea of a street occupied by cars and pedestrians seemed uninteresting in VR, as well as not fitting with the song I had chosen. Due to this, I decided to remodel my entire project, asking advice on a Discord server I frequented:

When listening to the song, this is what people on the server had to say about what it made them think of:

From this, I based the idea of my new project scene, creating a set of floating beach islands occupied by different people. While also fitting with the song more, the floating islands also worked in the 360 degree setting of VR, with islands all around you for the viewer to look at. Using Autodesk Maya, I modelled and textured a few basic islands, before using a few Unity store assets to occupy it with things such as a palm tree, beach chairs, and more. I also created a few simple models myself, such a a surfboard, and a shark fin which I later animated to swim around a pool of water I created.

With the basic scene created, I began my thoughts into more animated elements to add to it, searching into mixamo models and animations, as well as a possible way to get a “seal playing a sax” into the scene.

Perfect Holiday Destination Development Part 3: First models

I have begun clear work on my models, having made the first few key models for my scene. A lot of my inspiration comes from Cyberpunk media and streets in Bangkok, and I am trying my best to recreate those sorts of aesthetics for my project.

What I have so far:

My idea is to have a street with buildings such as this lining on both sides. I’m happy with the progress I’ve made so far and am enjoying working with the lighting systems in Arnold now I have gotten them working for my neon lights.

Perfect Holiday Destination Development Part 2: Research

Smaller blog post, but after some searching, I’ve found the resources I’m going to use to try and model the assets for my scene. I’ve divided the construction of assets up into the items that are crucial to my project, and those that are additions I can make to try and add to my scene more once the base outline is done.

Core Elements:

Buildings: https://www.youtube.com/watch?v=AEPjRN9eS-c or https://www.youtube.com/watch?v=hzkvqGCB72M

Vehicles: https://www.youtube.com/watch?v=UeWdke9ZuZU or https://www.youtube.com/watch?v=XbG8Dxz5jCI

Additional Elements:

Trash: https://www.youtube.com/watch?v=AYTljSGF1eo or https://www.youtube.com/watch?v=ylzK6gxT1Aw&list=PLSUtzVs5X8USBxDzZYfekV5ufCFIAdtbp

Umbrella: https://www.youtube.com/watch?v=RUaL_k5sNwo

Plastic chairs: https://www.youtube.com/watch?v=4xhKfayFcdE

Cans: https://www.youtube.com/watch?v=HuiBsW2WqaA

I definitely have a lot to watch. I also have to find time to juggle learning these modeling processes, whilst also working on my other projects with the Unity dance video, as well as my work in the GCS.

Perfect Holiday Destination Development Part 1: Neon Signs

So my first course of action was deciding what sort of environment I would consider perfect in regards to a holiday. Most people think of beaches, or cultural landmarks and such, while I have rather different views. Having spent a large chunk of my life in Thailand, I have come to adore the streets of Bangkok, and share lots of good memories in places like Khao San Road.

As a result, the environment I wish to craft is comparable to a Bangkok street, with neon signs, food stalls, litter, and rain. I can understand that this doesn’t exactly sound like the most enjoyable of places to be, but given my time growing up in similar places, I can’t help but want to express my love for the neon lit streets.

Currently, I am spending a lot of my free time creating bits of neon art, which I have also begun posting around the internet to a positive response. The technique to create neon signs I followed is linked here:

This technique has allowed me to create some decent models by tracing assets from media I enjoy, and I have also begun learning to draw in hopes to create my own original pieces of art to add to my galleries.

So as such, I already have some decent assets to use as neon signs for my project. I do need to see about getting the renders to work using Arnold, as currently the Lambert materials I use only give the desired neon effect using the default Maya Software renders.

Once that’s done, I need to move on to creating more of the models I need for my scene, including stuff like buildings, non-neon signs, and food stalls. I have also been messing around with nParticle systems, and have been able to create a decent rain effect that I hope to apply to my final scene. I will need to do further research on how to render my scenes with the active rain effect, as currently each time I try, the rain effect is frozen and does not play.

All in all, I believe I am making good progress on this project, and am looking forward to seeing my final piece.